Painting can be a satisfying improvement project for Dublin, CA area homes and commercial buildings. It’s a relatively easy and cost-effective way to make a space look refreshed and updated. However, painting is not as easy as it seems. There’s nothing as disappointing as packing up after what looks like a perfect paint job, only to find the walls full of bubbles and blisters only a few hours (or even a few months) later.
Paint bubbles are unsightly flaws that ruin your interior or exterior paint jobs. If you have a similar problem, read on and learn why bubbles occur on your painted surfaces, how to fix the problem, and how to prevent them from happening in the future. Addressing paint bubbles is crucial to prevent further damage and ensure the paint job’s longevity.
What are paint bubbles?
Definition
Paint bubbles, or blistering, are raised areas or bubbles forming on painted surfaces due to trapped moisture or air. They mar the smooth appearance and can lead to peeling or flaking if not addressed. Sometimes paint bubbles might be caused by underlying wood rot that should be repaired first.
Appearance
Paint bubbles can vary in size and often appear shortly after painting. They may also develop over time due to environmental factors, such as high humidity or temperature fluctuations.
Impact on surface
Paint bubbles can compromise the appearance of walls by creating an uneven surface. If left untreated, they can lead to peeling and further deterioration of the paint job.
Common causes of paint bubbles
- Moisture: Paint bubbles often result from moisture issues, such as high humidity, water leaks, or painting over a damp surface. Moisture can get trapped between the paint and the surface, causing bubbles to form as the paint dries.
- Dirty or greasy surfaces: If the surface being painted is dirty, dusty, or greasy, the paint may not adhere properly. This lack of adhesion can lead to bubbles as the paint fails to bond effectively with the surface.
- Inadequate surface preparation: Proper surface preparation—cleaning, sanding, and priming—is crucial for good paint adhesion. Inadequate preparation can prevent the paint from sticking properly, leading to bubbling.
- Applying paint in extreme temperatures: Painting in extreme temperatures—whether too hot, too cold, or in direct sunlight—can affect how the paint dries. Rapid or uneven drying in these conditions can result in bubbles forming.
- Incompatible paint layers: Using paint types that aren’t compatible, such as applying water-based paint over oil-based paint without proper priming, can cause poor adhesion and bubbling.
- Applying paint too thickly: Applying paint in thick layers can trap air or moisture underneath. As the paint dries, these trapped elements can cause bubbles to form on the surface.
Addressing these issues during preparation and application can help prevent paint bubbles and ensure a smooth, professional finish.
Steps to prevent paint bubbles
Preventing paint bubbles involves a combination of proper surface preparation, environmental control, and using quality materials and techniques. Here’s a detailed breakdown of each step:
1. Ensure proper surface preparation
- Clean the surface: Dirt, dust, grease, and other contaminants can interfere with paint adhesion and cause bubbles. Use a mild detergent and water to clean the surface thoroughly. You can use a more powerful cleaner or a mildew remover for stubborn stains or mold.
- Sand and smooth: Sanding helps to create a smooth surface and removes any loose or peeling paint. Use fine-grit sandpaper for best results. After sanding, wipe down the surface with a damp cloth to remove dust.
- Use a primer: Primer seals porous surfaces, provides better adhesion for the paint, and can help cover any stains or discolorations. Make sure to choose a primer compatible with your surface and the paint you’re using.
2. Control environmental conditions
- Avoid humidity and moisture: Moisture can cause paint to bubble or peel. Ensure the surface is completely dry before painting, and avoid painting on rainy or excessively humid days. Consider using a dehumidifier or air conditioning to control humidity levels in the room.
- Choose the right temperature: Painting in moderate temperatures (50°F to 85°F) helps ensure the paint dries properly. Extreme temperatures can affect the paint’s drying time and application. Avoid painting in direct sunlight, as it can cause the paint to dry too quickly, leading to bubbles, or in very cold conditions, which can prevent proper curing.
3. Use high-quality paint and tools
- Select the right paint: High-quality paint often has better adhesion and fewer issues with bubbling. Make sure the paint is appropriate for the surface and environmental conditions. For example, exterior paints are formulated to handle weather conditions better than interior paints.
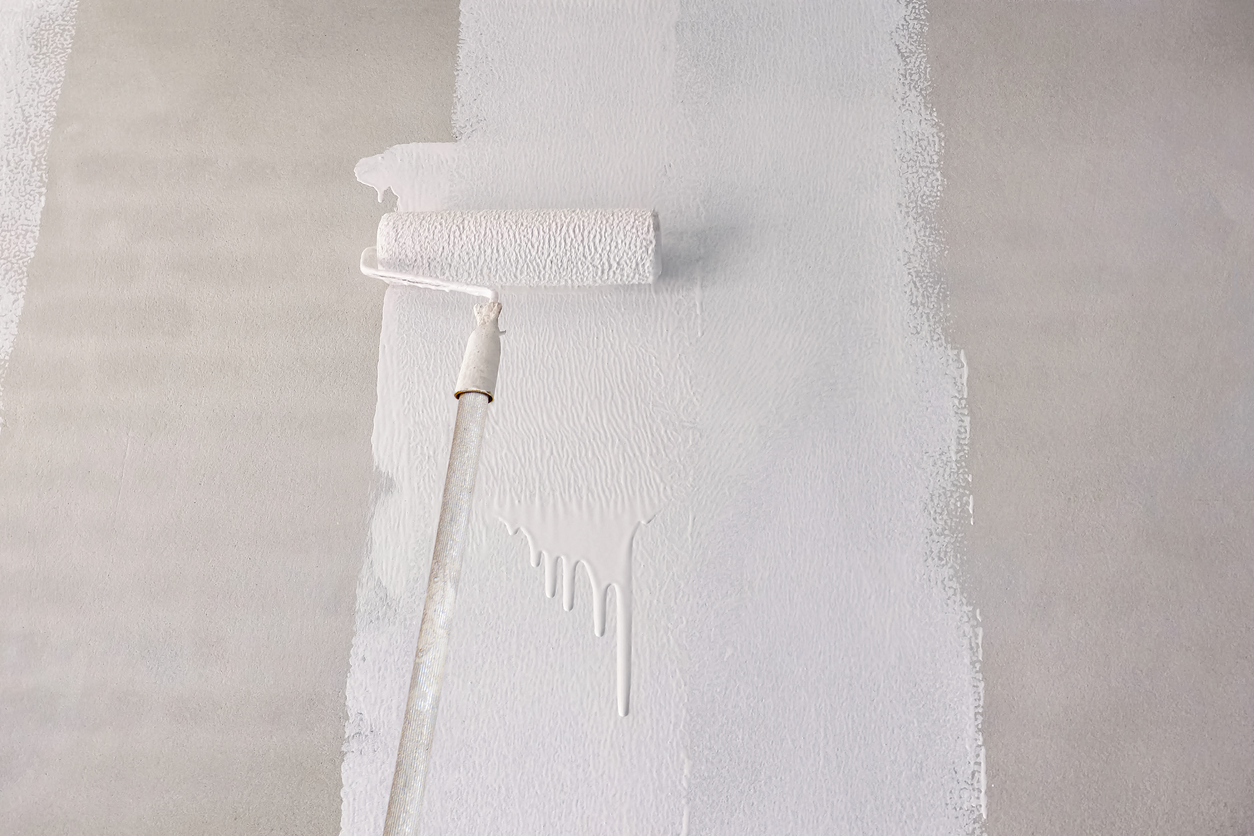
- Apply thin, even coats: Applying paint in thin, even coats helps prevent bubbles that potentially occur from thick layers. Use a high-quality roller or brush and work in manageable sections. Avoid overloading your brush or roller with paint.
- Allow adequate drying time: Each coat of paint must dry completely before applying the next layer. Follow the manufacturer’s recommendations for drying times. This prevents moisture from being trapped between layers and reduces the risk of bubbling.
How to fix paint bubbles
Here’s a detailed guide on how to fix paint bubbles:
Step 1: Identify the cause
- Assess the affected area: Check the bubbling to determine whether it was caused by moisture (like leaks or high humidity), poor surface preparation, or environmental factors (like applying paint in extreme temperatures).
Step 2: Remove the bubbles
- Scrape or sand the bubbles: Use a scraper or sandpaper to carefully remove the bubbles and any loose or peeling paint around them. Be gentle to avoid damaging the underlying surface.
- Smooth the surface: After removing the bubbles, sand the area smoothly to ensure a level surface for repainting. This helps with the new paint’s better adhesion.
Step 3: Repair and prime
- Repair damage: If the surface has cracks, holes, or rough spots due to moisture damage or peeling, use spackling or a patching compound to fill in these imperfections. Allow it to dry completely and sand it smooth.
- Apply primer: Once the surface is repaired and smooth, apply a high-quality primer. This helps to seal the surface, improve paint adhesion, and prevent future bubbling.
Step 4: Repaint the area
- Apply thin, even coats: Repaint the affected area using thin, even coats of paint. Applying thin layers helps prevent the formation of new bubbles and allows each coat to dry thoroughly before the next one is applied.
- Monitor environmental conditions: Paint under optimal conditions—typically between 50-85°F (10-30°C) and with low humidity. This helps ensure that the paint dries properly and minimizes the risk of future bubbling.
Following these steps should help you effectively address and prevent paint bubbles. If the problem persists, you might want to investigate deeper issues, such as persistent moisture or improper paint products.
Professional help for severe cases
If paint bubbling is widespread or severe, it may indicate underlying issues like moisture damage or improper surface preparation. A professional can assess and address these problems more effectively.
Specialized tools and techniques
Professionals use specialized tools, such as heat guns, to remove bubbles and advanced primers, to seal surfaces. They also have access to high-quality paints and repair products that ensure a smooth, durable finish.
Preventative maintenance
Collaborate with a professional for regular inspections and maintenance to catch potential issues early. This proactive approach helps prevent future bubbling and extends the life of your paint job.
Conclusion
Preventing and addressing paint bubbles is crucial for maintaining the appearance and integrity of painted surfaces. Livermore homeowners and business owners should prioritize proper preparation, environmental control, and the use of high-quality materials to avoid bubbling issues.
For the best results, consult with our Custom Painting, Inc. team for expert advice and services to effectively prevent or fix paint bubbles. Call us at 925-294-8062 or message us on our contact page for a free quote!


