
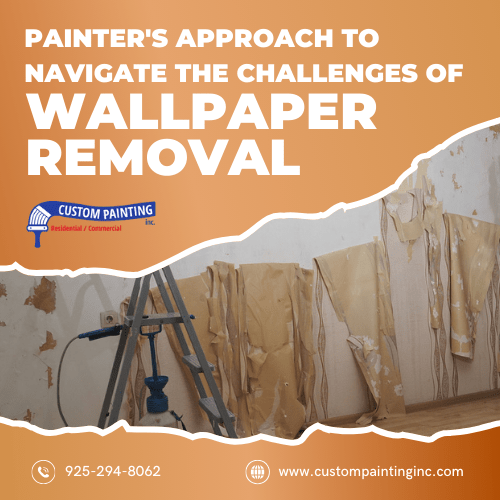
Removing wallpaper can be a daunting task for even the most experienced painters. The process involves careful planning, precise execution, and a lot of patience. In this article, we will explore effective methods and practical tips for tackling wallpaper removal.
By understanding the challenges and adopting the right techniques, painters can ensure a smooth and efficient process. Whether you are dealing with stubborn adhesive or multiple layers of old wallpaper, this guide will provide you with the insights needed to navigate the complexities of wallpaper removal.
Challenges of Removing Wallpaper
Here are some of the most common challenges faced during wallpaper removal:
- Multiple Layers of Wallpaper: In older homes, it’s common to find multiple layers of wallpaper applied over the years. Each layer can have different types of adhesive and can be difficult to separate.
- Stubborn Adhesive: Some wallpapers use very strong adhesives that are difficult to dissolve and remove, even with extensive soaking or steaming.
- Delicate Wall Surfaces: Plaster or drywall can be easily damaged during the removal process. Overscraping or using too much water can cause wall damage.
- Vinyl or Water-Resistant Wallpaper: Vinyl and water-resistant wallpapers are designed to repel water, making traditional soaking methods less effective.
- Mold and Mildew: Moisture trapped behind wallpaper can lead to mold and mildew growth, which can be revealed during the removal process.
- Wallpaper in High-Moisture Areas: Bathrooms and kitchens often have wallpaper that is more resistant to removal due to high humidity and grease buildup.
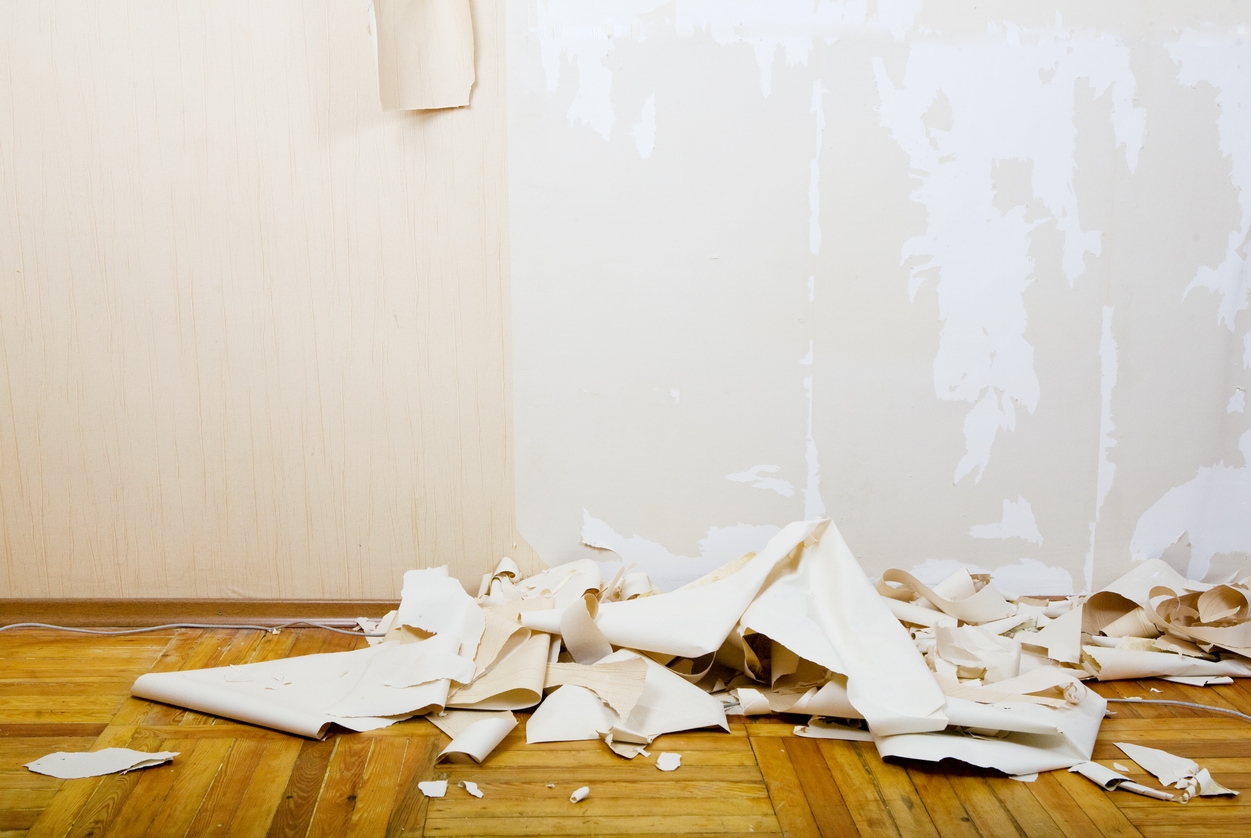
- Residue and Damage After Removal: Even after the wallpaper is removed, adhesive residue and minor wall damage can remain, requiring further work to prepare the surface for painting or new wallpaper.
Preparing for Wallpaper Removal
Removing wallpaper effectively begins with thorough preparation. Before diving into the removal process, it’s essential to assess the wallpaper type and wall condition, gather necessary tools and materials, and ensure safety precautions and workspace protection. Here’s a detailed guide to help you prepare for wallpaper removal.
Assessing the Wallpaper Type and Wall Condition
1. Identify the Wallpaper Type
Determine if the wallpaper is strippable, peelable, or traditional. Strippable wallpaper is designed to come off easily; peelable wallpaper has a top layer that peels away, leaving a paper backing, and traditional wallpaper often requires soaking or steaming. Test a small section by peeling at a corner. If it comes off easily, it’s likely strippable or peelable. If not, you may be dealing with traditional wallpaper.
2. Examine the Wall Condition
Check for any signs of damage, such as cracks, holes, or water damage. Repairing these issues beforehand can prevent further damage during the removal process. Identify whether the walls are drywall, plaster, or another material. This will affect how you approach the removal and the tools you use.
Gathering Necessary Tools and Materials
For wallpaper removal, here are the essential tools that you need:
- Utility Knife: For scoring and making precise cuts.
- Putty Knife or Wallpaper Scraper: To gently remove wallpaper and adhesive.
- Wallpaper Steamer: For loosening stubborn wallpaper.
- Spray Bottle: For applying water and detergent solution.
- Sponges and Cloths: For cleaning and wiping down surfaces.
- Buckets: For holding water and solutions.
Here are the important materials that you should have:
- Detergent: Mix with water for a soaking solution.
- Chemical Wallpaper Remover: For breaking down tough adhesives.
- Drop Cloths and Plastic Sheets: To protect floors and furniture.
- Painter’s Tape: To secure protective coverings and mask-off areas.
Ensuring Safety Precautions and Workspace Protection
- Ventilation: Ensure the room is well-ventilated, especially if using chemical removers. Open windows and use fans if necessary.
- Protective Gear: Wear gloves, safety goggles, and a mask to protect against chemical exposure and dust.
- Electrical Safety: Turn off the power to the room if working near electrical outlets or switches. Cover them with painter’s tape to prevent water from getting in.
- Cover Floors and Furniture: Use drop cloths or plastic sheets to cover the floor and any furniture in the room. This will protect them from water, adhesive, and debris.
- Mask-Off Areas: Use painter’s tape to secure protective coverings and mask-off baseboards, trim, and any other areas you want to keep clean.
- Remove Fixtures: If possible, remove light switch covers, outlet covers, and any wall fixtures to make the removal process easier and prevent damage.
By taking these preparatory steps, you can ensure a smoother and more efficient wallpaper removal process. Proper preparation not only protects your workspace and safety but also sets the stage for successful wallpaper removal and a pristine surface for whatever comes next.
Techniques for Wallpaper Removal

Removing wallpaper is a task that requires careful preparation and the right approach to ensure a clean, smooth surface ready for a new look. Different techniques can be employed depending on the type of wallpaper and the condition of the walls. Here are some effective methods for wallpaper removal:
1. Peeling and Scraping
- Technique: Start by peeling off the top layer of the wallpaper. Use a utility knife to make small incisions if necessary. Once the top layer is removed, use a putty knife or wallpaper scraper to gently scrape off the adhesive layer.
- Advantages: This method works well for wallpaper that is already peeling or has a loose top layer. It is a straightforward approach that requires minimal tools.
- Considerations: Be cautious not to damage the wall surface while scraping. This technique may not be effective for wallpaper with a strong adhesive.
2. Soaking with Water and Detergent
- Technique: Mix warm water with a few drops of liquid detergent in a spray bottle. Spray the solution generously onto the wallpaper, allowing it to soak in and soften the adhesive. After a few minutes, use a scraper to remove the wallpaper.
- Advantages: This method is simple and uses readily available household items. It is effective for most types of wallpaper.
- Considerations: Ensure the wall can handle moisture without damage. Protect the floor and surrounding areas from water exposure.
3. Using a Wallpaper Steamer
- Technique: A wallpaper steamer applies heat and moisture to the wallpaper, loosening the adhesive. Hold the steamer against the wallpaper for several seconds and then use a scraper to remove it.
- Advantages: Steamers are particularly effective for removing stubborn wallpaper and multiple layers. They can save time and effort compared to other methods.
- Considerations: Wallpaper steamers can be rented or purchased. Be careful when handling hot steam to avoid burns. Test a small area first to ensure the wall can withstand the heat and moisture.
4. Chemical Wallpaper Removers
- Technique: Apply a commercial wallpaper removal solution according to the manufacturer’s instructions. These solutions are designed to break down the adhesive, making it easier to scrape off the wallpaper.
- Advantages: Chemical removers can be very effective for tough adhesives and older wallpapers. They often work faster than water and detergent.
- Considerations: Ensure proper ventilation when using chemical removers. Follow safety guidelines and wear protective gloves. Test a small area first to check for any adverse reactions to the wall surface.
5. Scoring and Soaking
- Technique: Use a wallpaper scoring tool to make small perforations in the wallpaper. This allows the water or remover solution to penetrate the adhesive more effectively. Follow up with the soaking or chemical removal method.
- Advantages: Scoring enhances the effectiveness of soaking or chemical removers, especially for vinyl-coated or water-resistant wallpapers.
- Considerations: Be gentle while scoring to avoid damaging the wall underneath. This method adds an extra step but can be very effective for tough wallpapers.
By understanding and employing these techniques, painters can tackle wallpaper removal with confidence and efficiency, ensuring a smooth transition to a fresh, new wall surface.
How to Deal with Stubborn Wallpaper
Identifying Tough Spots
When removing wallpaper, you may encounter particularly stubborn areas that resist traditional methods. Identifying these tough spots early can save time and effort. Look for areas where the wallpaper is tightly adhered to the wall, often around seams, corners, and edges.
These spots may feel more solid when you run your hand over them, and they may not respond as easily to initial attempts at peeling or scraping. Recognizing these challenging sections allows you to apply more targeted techniques to address them effectively.
Effective Solutions for Removing Stubborn Areas
- Repeated Soaking: Sometimes, stubborn wallpaper requires multiple rounds of soaking. Spray the area with a solution of hot water and fabric softener or a commercial wallpaper remover. Allow the solution to penetrate for 15-20 minutes, then apply a second or third layer if needed. The repeated application helps to soften the adhesive further.
- Enhanced Scoring: For particularly resistant wallpaper, use a scoring tool to create more perforations, allowing your chosen removal solution to penetrate deeper into the adhesive. Be gentle to avoid damaging the wall but thorough enough to make a significant impact.
- Localized Steaming: Focus the steamer on the toughest spots for a longer period. Hold the steam plate against the area for 20-30 seconds to ensure the adhesive softens completely. Follow up with careful scraping, using a putty knife or scraper.
- Chemical Boost: Use a stronger concentration of a commercial wallpaper remover if initial attempts with diluted solutions fail. Apply the concentrated remover directly to the stubborn spots, let it sit for the recommended time, and then scrape off the wallpaper.
Other Professional Tips and Best Practices
Here are more expert recommendations to help you achieve the best results:
- Work in Sections: Divide the wall into manageable sections and focus on one area at a time. This method helps prevent the removal solution from drying out before you have a chance to scrape off the wallpaper. Working in sections also allows you to maintain a steady, organized approach.
- Maintain Proper Ventilation: Ensure good airflow in the room, especially if you are using chemical removers. Open windows and use fans to circulate air and reduce the concentration of fumes. Proper ventilation also helps to minimize moisture buildup when using steamers or water-based solutions.
- Use the Right Tools: Having the correct tools can significantly impact the ease and success of wallpaper removal. Invest in a good-quality putty knife or wallpaper scraper, a scoring tool, and a wallpaper steamer if needed. Sharp blades make scraping more effective and reduce the risk of wall damage.
- Apply Solutions Generously: Whether you are using water, a detergent mixture, or a commercial wallpaper remover, apply the solution generously to ensure it penetrates the wallpaper and adhesive. Allow adequate soaking time to soften the adhesive fully before attempting to scrape.
- Be Patient and Persistent: Stubborn wallpaper may require multiple rounds of soaking, steaming, and scraping. Be patient and persistent, allowing each method enough time to work effectively. Rushing the process can lead to wall damage and incomplete removal.
- Handle Corners and Edges Carefully: Corners and edges can be particularly challenging. Use a utility knife to cut the wallpaper into manageable strips and a putty knife to lift and remove these sections carefully. Be gentle to avoid damaging the underlying wall.
- Clean the Walls Thoroughly: After removing the wallpaper, clean the walls thoroughly to remove any remaining adhesive residue. Use a mixture of warm water and mild detergent, and rinse with clean water. Allow the walls to dry completely before applying new wallpaper or paint.
- Repair Any Wall Damage: Inspect the walls for any damage caused during the removal process. Fill any holes or cracks with spackle or joint compound, and sand the surface smooth once it’s dry. Properly repaired walls provide a better base for new wallpaper or paint.
- Seek Professional Help if Needed: If you encounter particularly stubborn wallpaper or extensive wall damage, consider seeking professional help. Experienced painters and wallpaper removal specialists have the tools and expertise to handle challenging situations effectively.
Conclusion
Removing wallpaper can be a challenging and time-consuming task, but with the right techniques and tools, it is manageable. By following the steps outlined in this guide, you can navigate the complexities of wallpaper removal and prepare your walls for a fresh new look.
If you encounter difficulties or need professional assistance, don’t hesitate to contact Custom Painting, Inc. at 925-294-8062 or use our contact form. Our team of experts is ready to help you achieve the best results for your home or business.
