

The secret of a successful Livermore area house painting project lies in the work done before a paintbrush even touches the surface. Painting a poorly prepared surface (or a surface that is not prepared at all) will only result in a shoddy paint job, while quality surface prep work will pay huge dividends.
Knowing how to prepare your Pleasanton home’s exterior surface for painting can significantly impact the results. Here’s how you can prepare your house for painting:
1. Find out when your house was built
If your house was built before 1979 – and has not been repainted since – there’s a good chance that your house may have used lead-based paint. Make sure to have the paint tested before you begin doing anything. Unless you are certified to remove lead paint and know how to remove it, it is best to hire a professional since it is hazardous. Your local health department can provide information on how to deal with lead and share resources that are approved to do the work.
2. Inspect the exterior
Look for signs of damage such as peeling paint, cracks, mold, or rot, especially in areas that are often exposed to moisture and sunlight. Also, check for sun damage and areas where the paint may have faded or blistered due to UV exposure. Use a small knife or screwdriver to gently probe any suspicious areas for softness – it indicates rot, which needs to be addressed before painting.
3. Clean the exterior
Properly clean your home’s exterior so the new paint will adhere correctly. Start by pressure washing your walls with a suitable detergent to remove dirt, dust, and flaking paint. You want all surfaces to be spotless, and then allow them to dry thoroughly.
In areas with mildew or mold, apply a cleaning solution containing bleach or a mildewcide to prevent future growth. Remember, the goal is to create a clean, smooth surface that will allow the paint to bond effectively.
4. Make necessary repairs
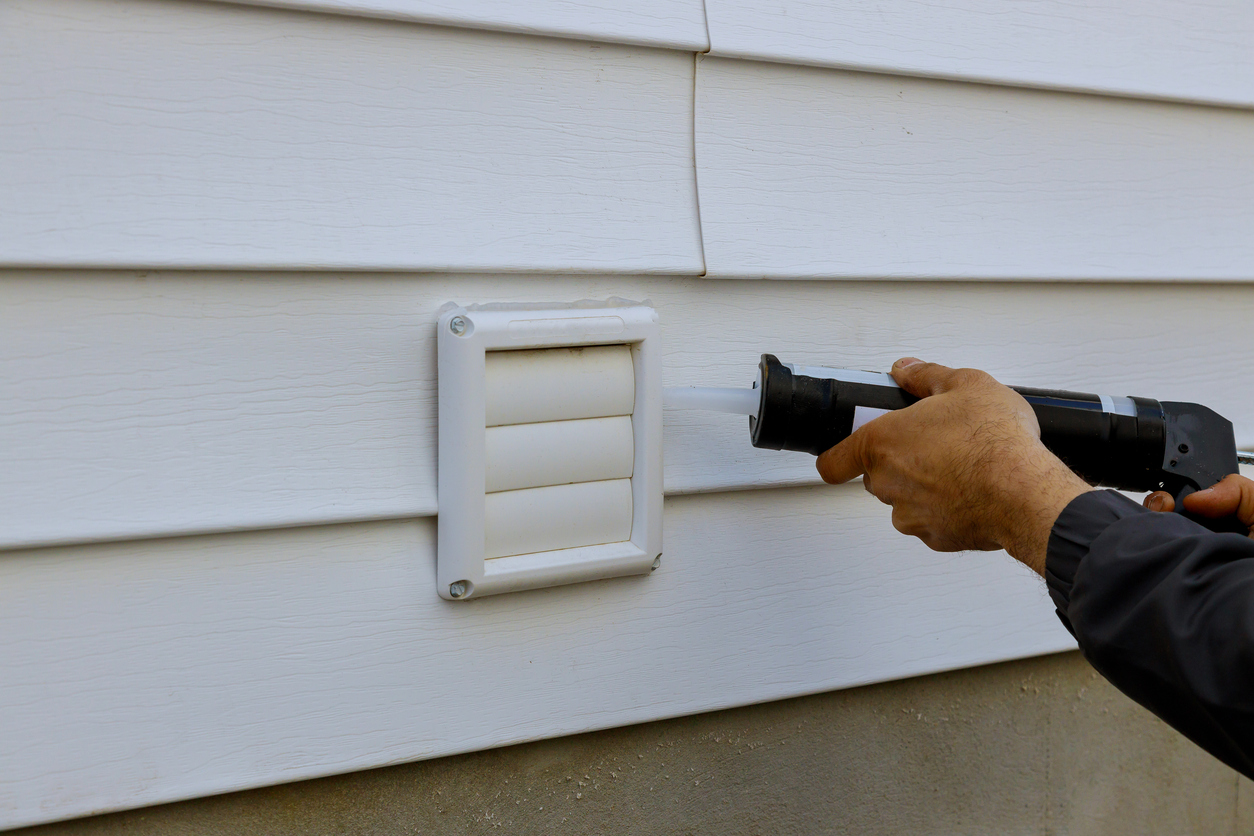
Once the exteriors are clean and you’ve identified areas that need attention, it’s time to make repairs. This is crucial to create a smooth surface. Start by filling in small cracks with an acrylic caulk that matches the texture of your exterior surfaces.
For larger gaps or areas of rot, remove the damaged material and replace it with new wood or use a two-part epoxy filler. Ensure all repairs are smooth and level with the surrounding areas to avoid noticeable bumps or imperfections under the new paint. Allow all fillers and caulks to dry completely, following product directions before proceeding to the next step.
There are cases where the paint cannot adhere to the bottom of the garage door or along with decks and patios. The solution is to leave a gap between the wood and the horizontal surface and apply paintable water repellent (which you can buy at home improvement stores) at the bottom of the wood, up to 16 inches.
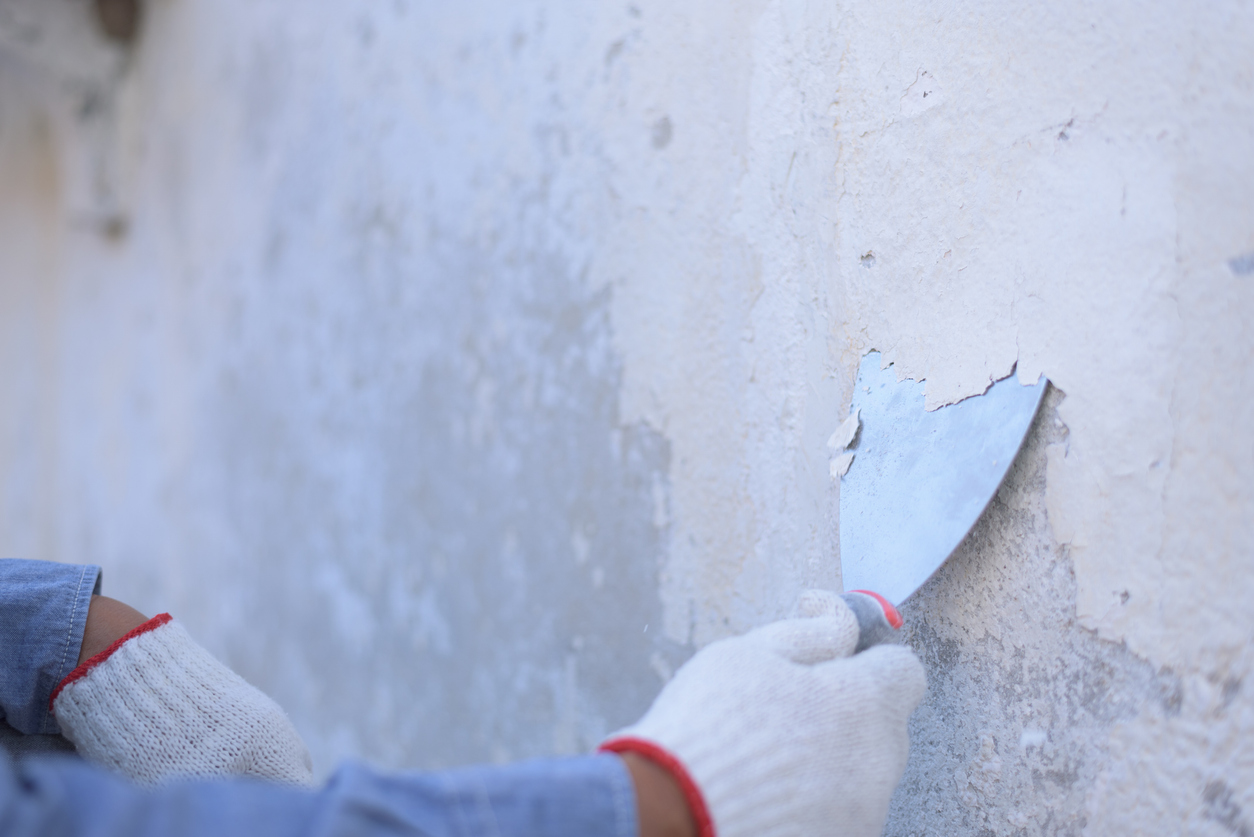
If you see any peeling old paint and have confirmed it is not lead-based, scrape it away using a putty knife or sandpaper. If you have a drill, you can scrape away paint by using the drill with a sandpaper or wire brush attachment. A heat gun may soften the paint, making it easier to remove. Be careful not to melt the weather stripping when using the heat gun.
5. Sand and scrape away peeling paint
After repairs, focus on sanding and scraping away any remaining loose or peeling paint. This step is vital for achieving a uniform surface that will hold new paint well. Use a paint scraper for peeling and flaking areas, and sand surfaces with medium-grit sandpaper to smooth out rough edges and feather paint transitions.
For homes in Livermore where sun exposure can cause significant paint deterioration, pay extra attention to sun-beaten areas to remove all compromised paint. If sanding generates a lot of dust, wear a mask and use tarps to catch debris, keeping your work area clean and safe.
6. Protect surroundings
Before your contractor arrives, cover the bushes, flower beds, or landscaping next to the walls with drop cloths to prevent paint from dripping on them. If you don’t have time or the drop cloths, the painters will protect your property before they begin painting.
7. Prime the surface
Priming is essential for ensuring your new paint adheres properly and has a uniform finish. Apply a high-quality exterior primer appropriate for your home’s surface material. For areas that have been repaired or where raw wood is exposed, primer is particularly crucial as it seals the porous surfaces and provides a good base for the topcoat.
In Livermore, consider using a primer that offers additional protection against UV rays and moisture, which are common concerns given the local climate. Following the manufacturer’s recommended drying times, allow the primer to dry completely before applying the topcoat.
But before doing this step, consult with your painting contractor. Some prefer that they do the priming themselves to keep it consistent with their painting techniques.
Final Word
If you’re on a budget but still want a professional to do the actual painting, you can lessen your expenses by doing much of the prep work. Contact Custom Painting, Inc. or call us at 925-294-8062 to inquire. That way, you can save money and enjoy the benefits of a professional paint job.
