
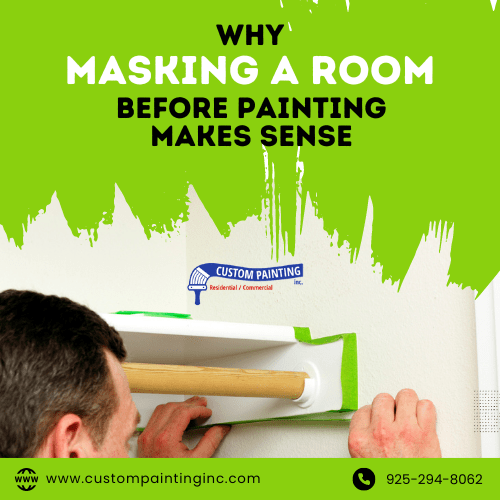
When starting a new painting project in the Livermore area, many people overlook masking a room before painting, but it is an important step in achieving a clean and durable finish. Properly masking a room helps prevent paint from getting on unwanted surfaces and saves time on cleanup. This is especially important when you are doing tasks like cabinet refinishing and painting, ceiling removal, wood rot repair and light carpentry work.
In this article, we will talk about the reasons why masking a room before painting makes sense and how it contributes to a better painting experience.
Benefits of Masking a Room
Masking a room before painting offers several benefits, and here is a list of them:
Prevents Paint Drips
Masking protects areas that should not be painted, such as trim, windows, and floors. It prevents paint drips and splatters from landing on these surfaces, keeping them clean and free of unwanted paint marks.
Saves Time on Cleanup
By covering non-paint areas, masking reduces the time and effort needed for cleanup after painting. You won’t have to spend hours scraping off dried paint from surfaces that were accidentally splattered.
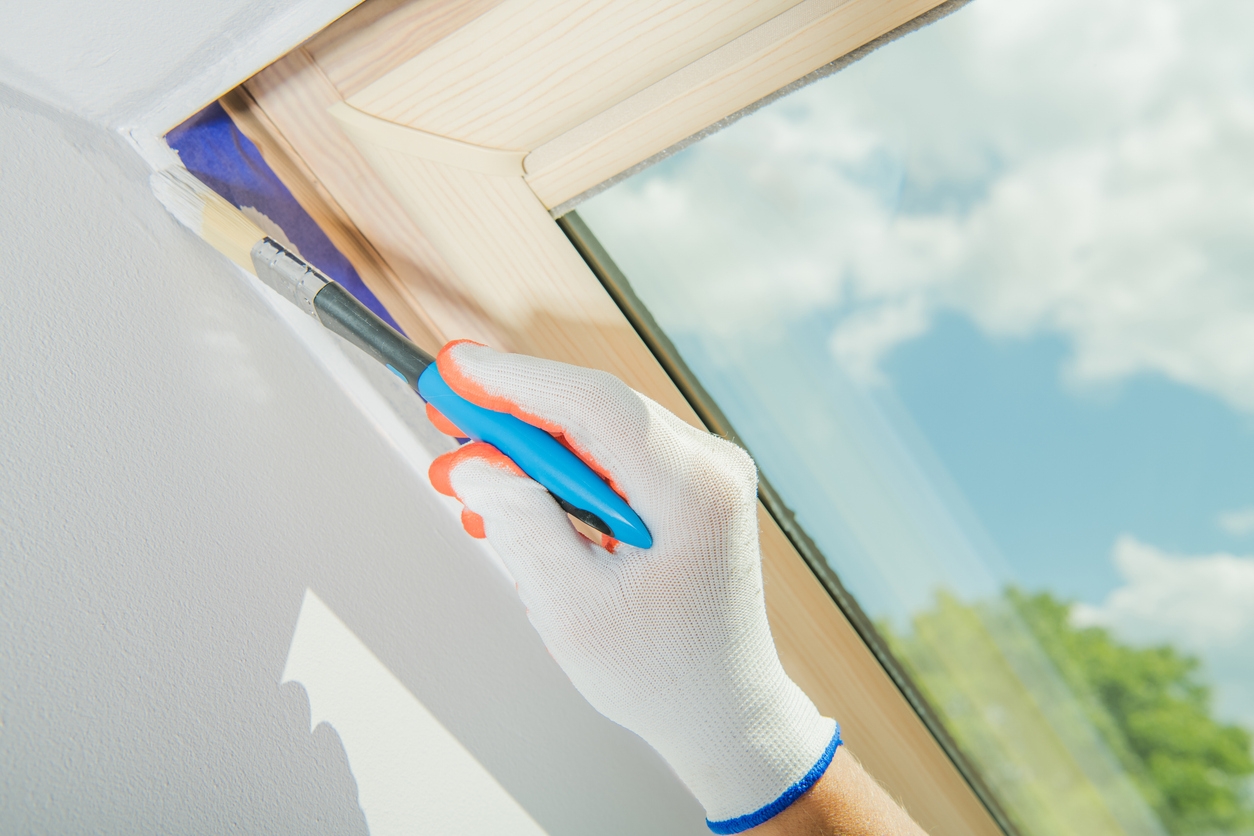
Achieves Sharp Lines
Using masking tape helps create sharp, clean lines where different colors or surfaces meet. This gives a more polished and professional look to the painted room.
Protects Fixtures and Furniture
Masking allows you to protect fixtures and furniture that cannot be moved out of the room. Covering these items ensures they remain paint-free and undamaged throughout the painting process.
Reduces Stress
Knowing that areas are properly masked gives peace of mind while painting. You can focus on the painting itself without worrying about accidental spills or mistakes.
Enhances Efficiency
Masking helps you paint more efficiently. With areas protected, you can use larger brushes or rollers without worrying about precision, speeding up the painting process and making it more straightforward.
Improves Overall Results
Taking the time to mask a room ensures a more professional result. The clean lines and lack of paint splatters contribute to a higher-quality finish.
Tools and Materials for Masking
Proper masking requires the right tools and materials to have a clean and efficient painting process. Below are the essential items you will need for masking a room:
- Masking Tape: Use high-quality painter’s tape to cover edges and create clean lines. It adheres well to surfaces and can be removed without leaving residue.
- Drop Cloths: Protect floors and furniture with drop cloths. They catch paint drips and splatters, keeping your space clean.
- Plastic Sheeting: Use plastic sheeting to cover larger areas, such as furniture or countertops. It provides a barrier against paint and is easy to tape down.
- Tape Dispenser: A tape dispenser helps you apply masking tape quickly and evenly. It saves time and ensures consistent application.
- Utility Knife: Use a utility knife to cut tape and plastic sheeting precisely. This ensures a snug fit around corners and edges.
- Masking Paper: Masking paper is useful for covering windows, doors, and other large surfaces. It is easy to tape down and remove after painting.
- Painter’s Edge: A painter’s edge or shield helps protect surfaces while painting along edges. It is especially useful for achieving straight lines on trim and baseboards.
- Ladders and Step Stools: Reach high areas safely with ladders and step stools. They provide stability and access to all parts of the room.
- Safety Gear: Wear safety glasses and gloves to protect yourself from paint and dust. This keeps you safe while masking and painting.
Step-by-Step Guide to Masking a Room
Masking is a relatively easy task as long as you follow the proper process. Follow these steps to make sure your room is ready for painting.
Gather Your Supplies
Start by collecting all necessary supplies. You will need painter’s tape, plastic sheeting, drop cloths, and a utility knife. Having everything on hand makes the process quicker and more efficient.
Clean the Surfaces
Before you start masking, clean the surfaces where the tape will be applied. Dust and dirt can prevent the tape from sticking properly. Use a damp cloth to wipe down trim, baseboards, and other areas that need masking.
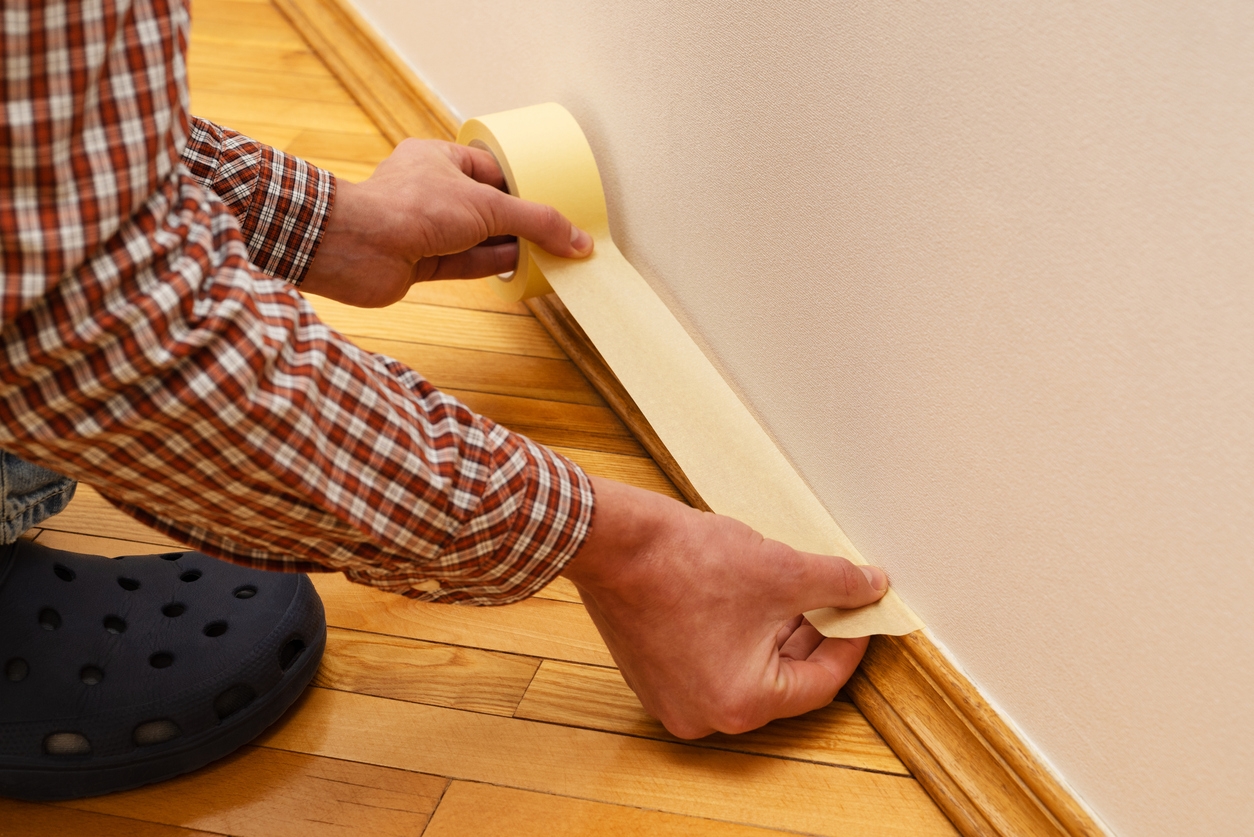
Apply Painter’s Tape
Carefully apply painter’s tape to the edges of the areas you want to protect. Press the tape down firmly to avoid paint seeping underneath. Use long strips of tape rather than short pieces to create smooth, straight lines.
Cover Large Areas
Use plastic sheeting or drop cloths to cover large areas like floors and furniture. Secure the sheeting with tape or clips to keep it in place. This prevents paint splatters from reaching areas you want to protect.
Seal the Edges
Once everything is covered, check the edges of your tape and sheeting. Make sure they are sealed properly to prevent paint from leaking through. Press down any loose edges or add additional tape if needed.
Remove Tape and Coverings Carefully
After painting, wait until the paint is dry to the touch before removing the tape and coverings. Peel the tape off slowly at a 45-degree angle to avoid damaging the paint. Dispose of the plastic sheeting and drop cloths properly.
Common Mistakes to Avoid
Painting a room might seem straightforward, but several common mistakes can lead to poor results. Avoid these errors to achieve the best results.
Skipping the Prep Work
Many people rush into painting without proper preparation. Failing to clean walls, fix holes, and sand rough spots leads to uneven paint and a sloppy appearance. Take the time to prep your surfaces for a smoother finish.
Using Low-Quality Tools
Cheap brushes and rollers may save money upfront, but they often result in uneven application and streaks. Invest in high-quality tools for better coverage and a more professional look. Good tools also make the job easier and faster.
Not Using Primer
Skipping the primer can lead to uneven color and poor paint adhesion, especially on new drywall or patched areas. Primer helps the paint stick better and provides a uniform base. Always use primer, especially when changing from a dark to a light color.
Applying Too Much Paint
Applying thick layers of paint can lead to drips and an uneven finish. It is better to apply multiple thin coats for a smoother result. This approach also allows each layer to dry properly, enhancing durability.
Painting in Poor Lighting
Painting in dim lighting can cause you to miss spots or apply paint unevenly. Make sure you have adequate lighting to see your work clearly. Natural light is best, but additional lamps or work lights can help if needed.
Ignoring Drying Times
Rushing the process by not allowing paint to dry between coats can ruin the finish. Follow the manufacturer’s recommended drying times to avoid smudging or peeling. Patience is key to achieving a lasting, professional look.
Conclusion
Masking a room before painting is a crucial step to achieving high-quality paint application. By taking the time to properly mask your room, you can avoid common painting mistakes and enjoy a more polished result for your Tracy area home.
For expert masking and painting services, contact Custom Painting, Inc. at 925-294-8062 or fill out our Contact Form.
